Master the Art of Fixing Minor Dings on Your Paddle Board
Summary
- Intro: How To Repair A Small Ding In Your Hard Paddle Board
- How Do You Fix A Paddleboard Ding?
- What Is The Best Glue For Paddle Board Repair?
- Can Paddle Boards Be Repaired?
- How Do You Fix A Scratch On A Paddleboard?
- Final Verdict
- Frequently Asked Questions
- How can I fix a tiny ding in my hard paddle board?
- What materials do I need to repair a small ding?
- Is it necessary to use fiberglass cloth for small dings?
- Can I repair my paddle board on the beach?
- How long does it take for the epoxy to cure?
- Can I still use my paddle board if there’s a ding I haven’t fixed yet?
- What’s the best way to sand the repaired area?
- Do I need to paint over the repaired ding?
- Is it safe to repair a paddle board in direct sunlight?
- What if the ding is larger than I thought?
- Frequently Asked Questions
Intro: How To Repair A Small Ding In Your Hard Paddle Board
Assessing the Damage Well, shoot – noticed a little ding on your hard paddle board, huh? First thing’s first, let’s take a gander at the scale of the mishap. Not every nick requires a full-blown repair kit march. Sometimes, a bit of epoxy resin will do the trick, sealing up that pesky divet faster than you can say “back to paddling.” If we’re dealing with a crack or a hole, though, that’s a whole ‘nother ball game. We’ll have to ensure it’s not so deep that it’s compromised the core of the board. ‘Cause believe me, if water gets in there, you might as well be paddling a sponge.
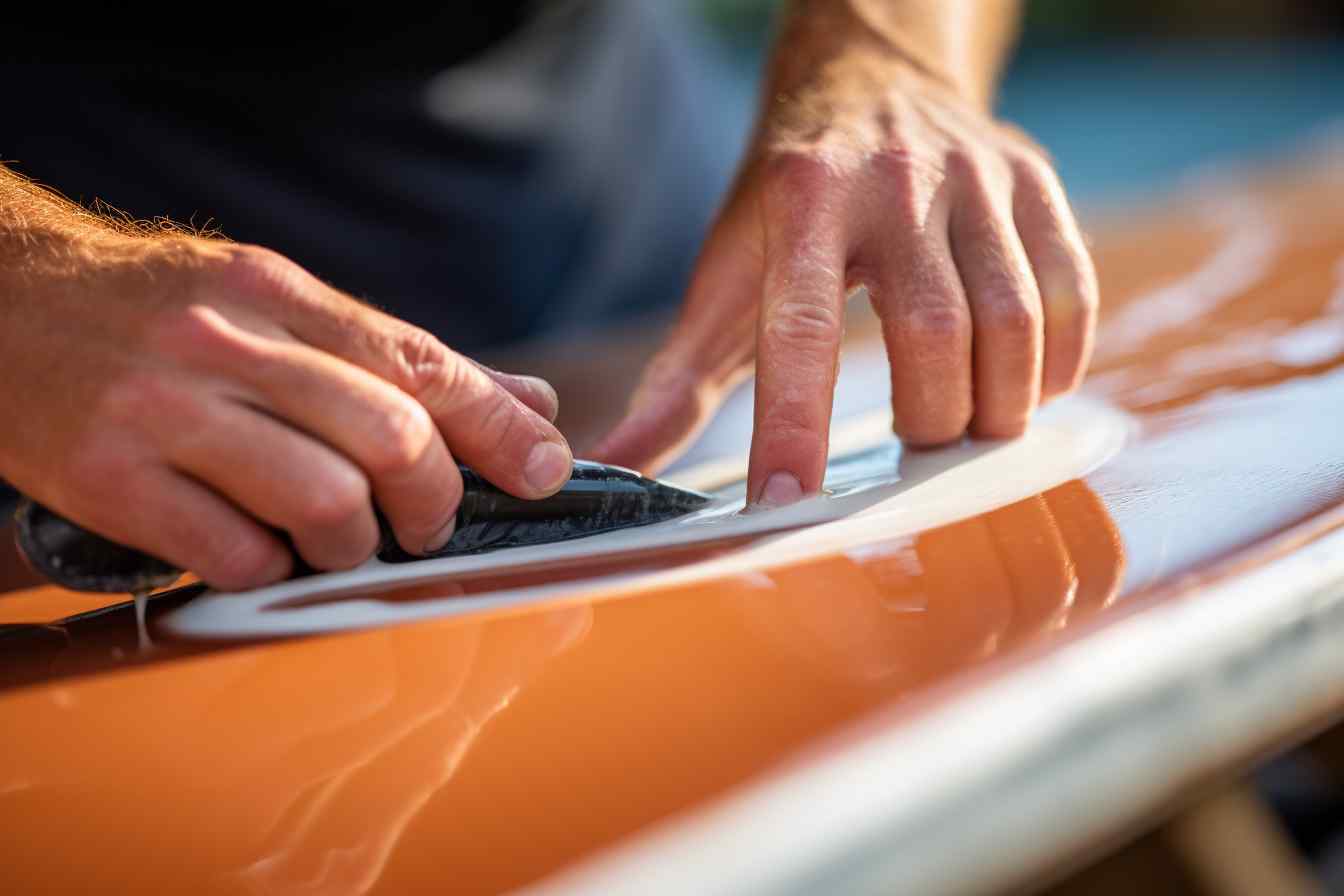
Preparing the Area Now, if you’re anything like me, you know that a good prep job leads to a good repair job. So, let’s roll up our sleeves and start by giving the area around the ding a proper cleaning. A little soap and water should do it, then rinse it off and let it dry completely. Got any loose fragments? Pick ‘em out. It’s like when you’re painting – a clean canvas is key. Sanding the edges of the ding creates a nice rough surface so that the repair material can hold on for dear life. And don’t forget to tape off the area. It’s not rocket science, but it sure helps to keep things neat and tidy.
Applying the Repair Material Okay, so here’s where it gets a tad messy. Mixing up the repair material – usually epoxy resin – is kind of like baking a cake, though there’s no licking the spoon with this stuff. Be sure to follow the instructions on the label to the letter. Once it’s mixed, it’s showtime. Fill in that ding with the precision of a surgeon, spreading it evenly. And hey, patience is the name of the game. You gotta let it cure, which feels like watching paint dry… only slower. But trust me, haste makes waste in this scenario.
Finishing Touches Alrighty, after that resin has set and is harder than a trivia question on quantum physics, it’s sanding time again. But be gentle – we’re not sanding a barn here. A fine-grit sandpaper’ll smooth the repair out until it’s like the ding never even happened. And then, just like adding sprinkles to a cupcake, a touch of paint to match your board’s design will finish it off. Voila! You’re ready to hit the water again, and that board should be good as new, or at least as close as it can get without rolling back the clock. Happy paddling, my friend!
How Do You Fix A Paddleboard Ding?
Man, there’s nothing like the heart-sink feeling you get when your beloved paddleboard gets its first ding. But hey, no need to fret over it – fixing it up is actually a breeze, as long as you’ve got the right know-how and tools on hand. First things first, you’re gonna want to give that spot a good once-over to assess the damage. Dry the area out completely, ‘cause you don’t want any moisture sneakily lingering when you go for the repair.
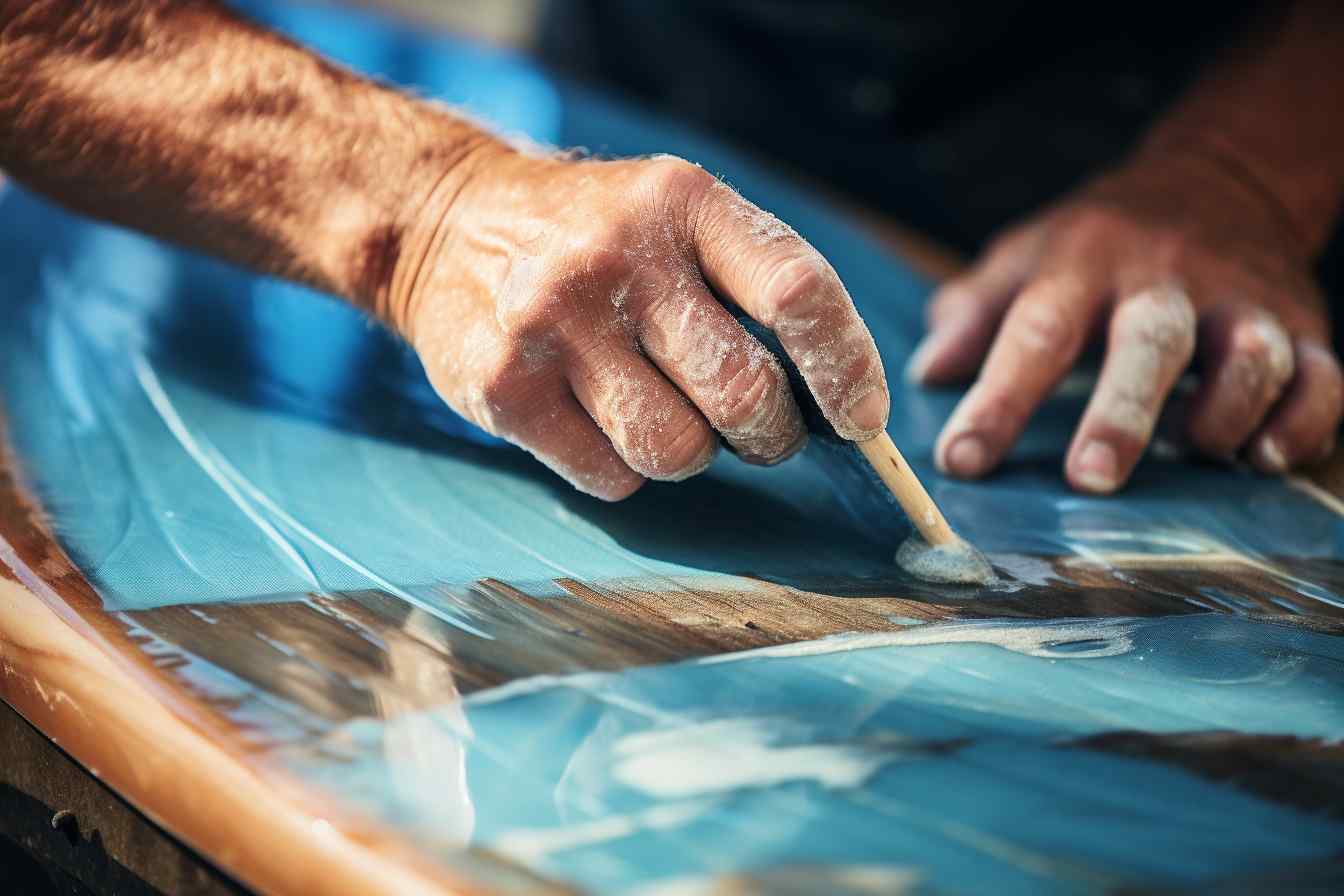
Then, you’re gonna need some epoxy resin – that’s your go-to magic for all things ding repair. It’s crucial to get the type that’s specifically made for paddleboards though; don’t go slapping on any old stuff you find in your garage! Mix it up according to the instructions, which usually involves stirring in some hardener to get the formula just right. With an artist’s touch, apply the mixture onto the ding using a putty knife or something similar. Smooth it out best you can, like you’re frosting the world’s smallest cake, you know?
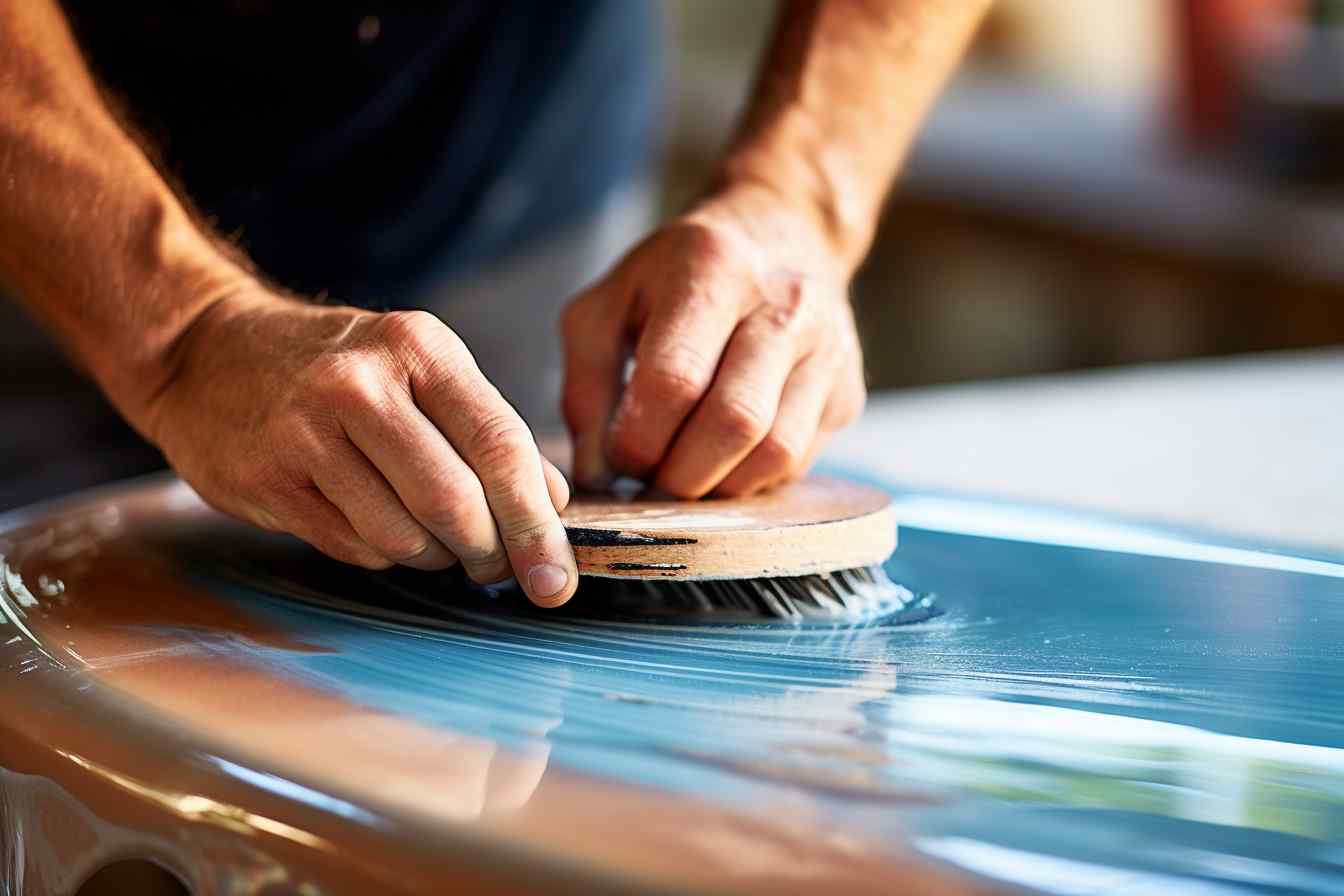
And don’t rush it – patience is key here. Give the epoxy time to cure; it needs its beauty sleep to set up nice and strong. Once it’s hard as a rock and dried to the touch, you can grab some sandpaper and very gently sand the area until it’s flush with the rest of the board. This part’s kind of therapeutic, like you’re sanding away all your worries (and that unsightly bump on your board, too). Remember to suit up with a mask, ‘cause sanding can kick up some nasty dust. Lastly, hit it with a bit of paint if you’re feeling fancy, and voilà – your board is as good as new, ready to tackle the waves once more!
What Is The Best Glue For Paddle Board Repair?
Alright, let’s dive right into patching up that little ding on your hard paddle board. You’re out there to slice through the waves, not to let ‘em sneak into your board through some pesky crack!
When it comes to the ideal glue for paddle board repair, you’re looking for something durable, waterproof, and flexible. Epoxy resin is your go-to pal here. It’s basically the Superman of adhesives for paddle board mishaps. This stuff has great sticking power, and it’s impervious to water once it cures — that means it’s locking out moisture for good.
Now, you might stumble upon some epoxy resins with swanky names, or they’ll be branding themselves as specifically made for marine repairs – those are excellent choices too. But listen, not all epoxies are created equal, and here’s a little tip: make sure you get a clear one. You want your repair job to blend in, not stand out like a sore thumb, right?
And here’s the kicker – you have to mix it right. Generally, it’s a two-part formula, which means you’ll combine a resin with a hardener. Mess up the ratio and you’re gonna end up with a goopy mess or, worse, a repair that’s as brittle as my aunt’s day-old cookies. Trust me on this; follow the instructions to a T.
So go ahead and get yourself some quality epoxy resin, and that board will be as good as new, ready to hit the water with all its might. Just remember to let it cure properly. Patience is a virtue, especially when it comes to water crafts.
How To Repair A Small Ding In Your Hard Paddle Board Youtube
Whoops, got a ding on your paddle board, huh? Well, don’t you worry - fixing up those pesky little dents can be easier than you’d think. Let’s get you back on the water!
- Prepping the Area: First off, you want to make sure your work space is as clean as a whistle. You don’t want any grime or sand getting in the way of your repair job.
- Give that ding a thorough wash. Get all the dirt out and let it dry completely before you move on to the next step – patience is a virtue here.
- Once it’s dry, gently sand the area around the ding. It’s like giving your board a bit of an exfoliation session to make sure the repair sticks.
-
Applying Filler: Next up, you’re gonna wanna fill in that ding with a filler that’s tough as nails. Don’t skimp on quality here; you want this fix to last.
- Choose a marine-grade epoxy filler; they’re made for this sort of thing and bond like best buds with your board’s material.
- Mix up your epoxy according to the instructions – accuracy is key – and apply it to the ding with a putty knife. Smooth it out as best as you can.
-
Letting It Cure: I know you’re itching to get back on the water, but you’ve got to let the epoxy sit and cure. It’s like waiting for bread to rise – essential.
- Follow the recommended curing time on the epoxy instructions – usually, it feels longer than watching paint dry, but it’s worth it.
- Keep the area as dry as a bone and at a stable temperature. No shortcuts!
-
Sanding Down the Filler: Grab your sandpaper and get ready to put in some elbow grease – we’re nearing the finish line!
- Once the epoxy’s fully cured, gently sand the area until it’s flush with the rest of the board. It’s a little workout for your arms, but think of the smooth finish you’ll get.
- Wipe away the dust frequently. You want to see exactly when you’ve got it level, so no zoning out!
-
Finishing Touches: Almost there, just a tad more fiddling and your board will be as good as new.
- If there’s a slight color mismatch, take care of it with a bit of touch-up paint. You’re shooting for incognito repairs here.
- Apply a sealant if needed, because you don’t want water sneaking into your handy work down the line. It’s like putting on a raincoat – necessary for protection.
- Final Check and Test: Last but not least, give your repair job a good once over, like you’re searching for treasure.
- Examine your work closely for any imperfections or weak spots. They’ve got to stand up to scrutiny.
- When you’re convinced it’s ready, it’s time for the true test – a calm day on the water. Fingers crossed, but you’ve likely nailed it!
Phew, that’s all, folks! With those little ding repairs tackled, your hard paddle board will be ready to hit the waves once again like nothing ever happened. Keep adventuring and stay safe out on those waters!
Can Paddle Boards Be Repaired?
So, you’ve gotten cozy with your hard paddle board, and it’s like an old friend who’s seen better days – you know the drill. Picture this: You’re gliding on the water, sun on your back, when bam! A tiny, almost insignificant obstacle turns your smooth sailing into a rough ride. And there it is, a ding in your trusty board. Gut-wrenching, right? But don’t throw in the towel just yet! I’ve got good news for you – those dings and dents? Definitely fixable. You’d be surprised at how resilient these boards can be with a bit of TLC.
Now, repairing them, it’s not rocket science, but it does require some finesse. Trust me, I felt a twinge of anxiety the first time I had to fix mine. But with the right materials – like some epoxy resin, a bit of fiberglass, maybe a little sandpaper – it’s like giving your board a spa day. A well-repaired board isn’t just about looks; it’s about keeping the bond. Get it done right and it’s like your board whispers a ‘thank you’ as you both slice through the water once more.
Don’t sweat the process either; most repairs are as straightforward as making your morning coffee. And here’s a little secret between us – there’s something kinda fulfilling about patching up your own gear. It’s like, each scar tells a story, y’know? So, roll up those sleeves and breathe new life into that beautiful board of yours. Ready for another adventure.
How Do You Fix A Scratch On A Paddleboard?
Oh, man, fixing a scratch on your paddleboard? I totally get the concern. You’ve shelled out for that awesome board and then, wham, it’s got a ding. But don’t sweat it; it’s fixable, and I’m gonna walk you through it. So, first thing’s first – you’ll wanna make sure that the area around the scratch is completely dry. Water and repair material are like oil and water, they just don’t mix.
Once you’ve dried off the area, lightly sand around the scratch. You know, just enough to buff out any rough edges and help the repair stuff get a good grip. Use fine-grit sandpaper so you don’t accidentally make matters worse. It’s kinda like exfoliating your skin; you want to be gentle with your board.
Now comes the part where you play doctor with your board—applying the filler. There’re special epoxy kits you can snag that are made for this kinda job. Mix it up, following the instructions like they’re your grandma’s secret cookie recipe, and fill in that pesky scratch. Make sure to smooth it over nicely, though – you don’t want it looking like your board’s got a weird growth.
Letting it cure is like watching paint dry, literally, but patience is key. Once it’s solid, you sand it down one more time for that seamless finish. Voilà, your paddleboard is back to being the belle of the ball. Just remember to treat it with care, and maybe avoid those rocky shores next time, alright?
How To Repair A Hard Paddle Board
Whoops, got a little ding on your prized hard paddle board, huh? Don’t fret — it happens to the best of us. Let’s dive into fixing that little bugger so you can get back on the water, stat.
-
Assess the Damage:
- Give the ding a good look-see to figure out the size of the problem we’re dealing with. Is it just a scratch or a deep gash?
- If water’s gotten inside, you’ll need to let it dry out completely. Trust me, no good ever came from trapping moisture.
- Check for any signs of cracking around the ding. Sometimes the damage is more than meets the eye.
-
Gather Your Supplies:
- You’ll need some epoxy resin — it’s like the superhero of adhesives for paddle boards.
- Grab some fiberglass cloth. It’ll reinforce the repair and make it tougher.
- Sandpaper’s your friend here. Get various grits for a smooth finish.
- Oh, and dig out some gloves. Epoxy is messier than a toddler with a chocolate bar.
-
Prep the Area:
- Sand around the ding to create a rough surface so that the resin clings like a clingy octopus.
- Clean the area with some rubbing alcohol — germs aren’t the only thing it’s good for getting rid of.
- Cut the fiberglass cloth to cover the ding with a little extra around the edges for good measure.
-
Mix and Apply the Epoxy:
- Follow the epoxy instructions to a T — precision is key here.
- Spread the mixed epoxy over the ding. Picture yourself as a painter, but your canvas is a bit more… buoyant.
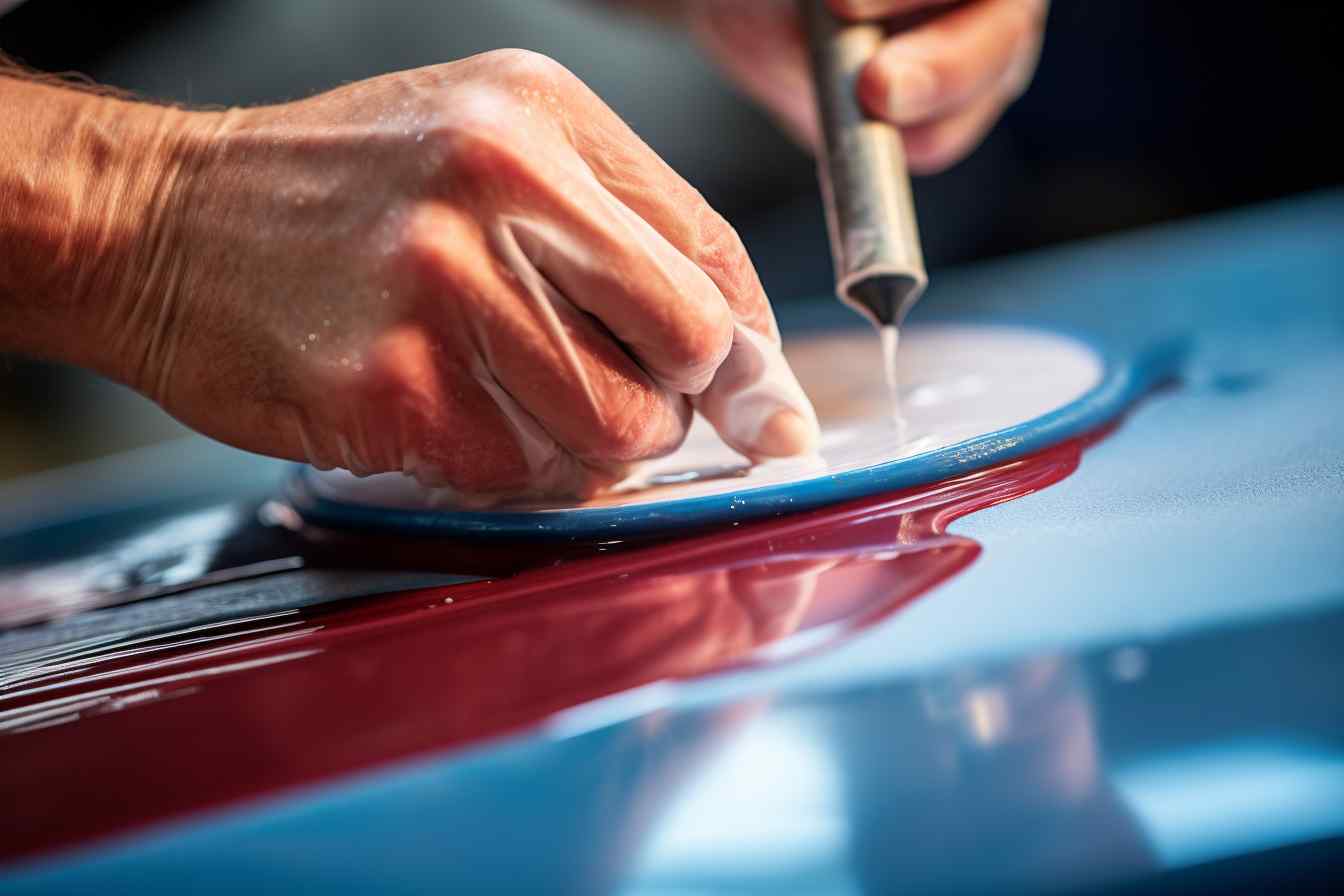
- Place the fiberglass cloth over the epoxy and smooth out any air bubbles — they’re not invited to this party.
-
Finishing Touches:
- After the epoxy sets, it’s sanding time again. Start with the rough stuff and work your way to fine-grit for that baby-bottom smoothness.
- If you feel fancy, paint over the repair to match your board. It’s like makeup for paddle boards!
- Give the repaired spot the tap test. It should sound solid, not hollow — we’re aiming for thud, not thunk.
-
Aftercare:
- Let the board cure for a bit before taking it out. Patience is a virtue, right?
- Keep an eye on the repair, especially after your first few outings. Better safe than sorry!
- Wax the repaired area if needed, to keep it looking sharp and water-ready.
Remember, every board has its battle scars. But with a bit of elbow grease and know-how, yours will be back to its old self, ready for whatever waves come your way. How’s that for a job well done?
Final Verdict
Alright, let’s get down to the nitty-gritty of fixing that pesky little ding on your hard paddle board, shall we? I can’t stress enough how vital it is to get that board back in tip-top shape. No doubt about it, a well-maintained board is a happy board—and who doesn’t want to glide over the water with the greatest of ease?
First things first, you’re going to want to make sure the area around the ding is bone dry. Moisture is a real enemy here; it’ll cause all sorts of mayhem if it gets into your repair job. Once you’ve got the area dry as a bone, sand it down gently around the damage. It’s like prepping a canvas for painting—you want a smooth surface that’ll help the repair materials adhere better.
Now, whip out your epoxy resin and hardener. You’ll need to mix these two like a pro. Follow the instructions to the letter; a good mix is critical for a durable fix. Slather that concoction over the ding, and be generous, but don’t go overboard. You’re not frosting a cake!
When applying the mixture, sure, you’ll want precision, but remember to have a bit of poise. It’s a bit like conducting an orchestra—every part needs to work in harmony. Let it cure; time will vary based on the product. Most likely, you’ll be itching to get back on the water, but patience is key. Rushing could mean a do-over, and trust me, you want to avoid that hassle.
After the epoxy sets up, it’s sanding time again. Smooth it out till it blends seamlessly with the rest of the board. Finally, slapping on some UV-resistant paint will keep the repair from yellowing under the sun’s harsh glare.
Et voila! Your board should look almost as good as new—ready to conquer the waves once again. Remember, take your time, follow these steps, and your paddle boarding adventures won’t be on hold for long!
Frequently Asked Questions
How can I fix a tiny ding in my hard paddle board?
Ah, the notorious ding—super annoying, right? But no worries, it’s quite fixable. You’ll need some epoxy resin for this job. Just clean the area around the ding, apply the epoxy, and let it cure. Take your time with it, and your board will be back in action before you know it!
What materials do I need to repair a small ding?
When I’ve got a little crack to patch up, I grab some epoxy resin, fiberglass cloth, and sandpaper. These are your go-to materials. Don’t forget gloves to keep your hands from getting all sticky!
Is it necessary to use fiberglass cloth for small dings?
You bet! Even a little ding can become a big issue if water gets in. Fiberglass cloth provides that extra layer of protection. It’s like a mini shield for your board, so slap that on with some resin.
Can I repair my paddle board on the beach?
Totally, you can! Just make sure it’s a sunny day because you’ll need the warmth to help the resin cure. But be mindful of sand – it’s sneaky and can get into your repair job if you’re not careful.
How long does it take for the epoxy to cure?
I know waiting can be a drag, but you’ve got to give it time. Usually, it takes around 6 to 8 hours for the epoxy to cure, but it can vary. Check the instructions and plan accordingly—no rushing this one!
Can I still use my paddle board if there’s a ding I haven’t fixed yet?
Ah, I wouldn’t risk that. Water can sneak into the inner foam core through the ding, and believe me, you don’t want that to happen. It’s better to fix it up as soon as you can.
What’s the best way to sand the repaired area?
Sanding can be a bit of a chore, but here’s the deal: start with a rougher grit sandpaper and work your way up to a finer grit for a smooth finish. And remember, it’s all in the wrist—gentle circles, my friend.
Do I need to paint over the repaired ding?
While it’s not necessary, painting over the repair can make your board look snazzy again. Just give the epoxy a good sand first, then paint away. A matching paint job will make that ding disappear like magic!
Is it safe to repair a paddle board in direct sunlight?
I always tell my pals to watch out for this. Epoxy can kick too fast in direct sunlight, which might ruin your repair. A bit of shade is your best buddy for this task. Keep it cool, and you’ll be golden.
What if the ding is larger than I thought?
If that ding turns out to be a bit of a monster, don’t freak out. You might just need to use a bit more fiberglass cloth and epoxy. But if it’s really big, consider getting a professional to take a peek. Better safe than sorry, right?
Wesley Samanta
Wesley Samanta, an avid fly fisher, finds solace along the tranquil streams of Colorado. With a keen eye for trout, Wesley skillfully navigates the waters, a testament to his deep connection with nature. His spare time is often spent crafting lures, each a reflection of his precision and artistry. Wesley's love for the outdoors is not just a hobby, but a way of life.
Comments